
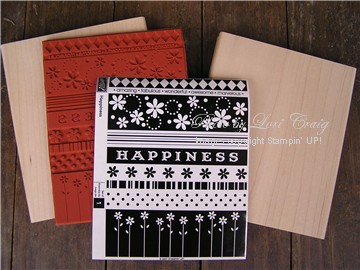
As Mr. Brown starts delivering new catalog orders across the country, I thought I would show a few tips about how I use the Happiness Background set from the Fall 2007 Collection. When I first got my set, I felt like I could do more with the images cut apart, but I wanted to maintain the integrity of my wood mounted stamps, KWIM? I got an extra wood block from a friend (I don’t have another source, sorry) and asked my husband to cut the wood into specified widths. If you want to try this, you will need an extra block of wood. SU! will send you one block which is just enough for the rubber, as is. When you start cutting the wood, the width of the saw blade eats up some of your wood surface. Hence, the 2 wood blocks pictured. I ended up with about half of one block left over.
 This is the set after my husband had cut the wood, and I trimmed and mounted the set. This is the only way that I have used it. (click thumbnail to enlarge)
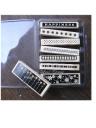
 I have often wondered if I did the right thing by cutting this set apart because I found it difficult to use my Stamp-a-ma-jig with the long, skinny images. I had been putting the stamp in the ‘jig’ right angle horizontal. Only today, did I realize that I could have been using the stamp long ways on the ‘jig’. The stability of the ‘jig’ arm makes all the difference. Yep, another ‘blonder than I pay to be’ moment! So, hope that helps you.
While I use Classic ink 90% of the time, with this set (especially with the word, Happiness, I have had the best success with Craft ink because it reduces the chance that I will need to make a repeat impression. It just seems to cover the solid, reverse image art better, in my opinion.
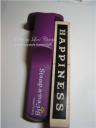
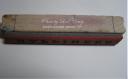 One last tip: This is the Happiness word block. I have marked on the side of the block where the “H” starts and the final “S” ends. This really helps me position the word center on a 4″ card strip. I can eyeball the placement more easily this way.
Hope these tips have help you. Knowing what has worked for others, helps me so much when it comes to stamping. Fun images and beautiful font for ‘happiness’ make this what is sure to be a customer favorite.
Thanks for stopping by!


Pingback: Anonymous