
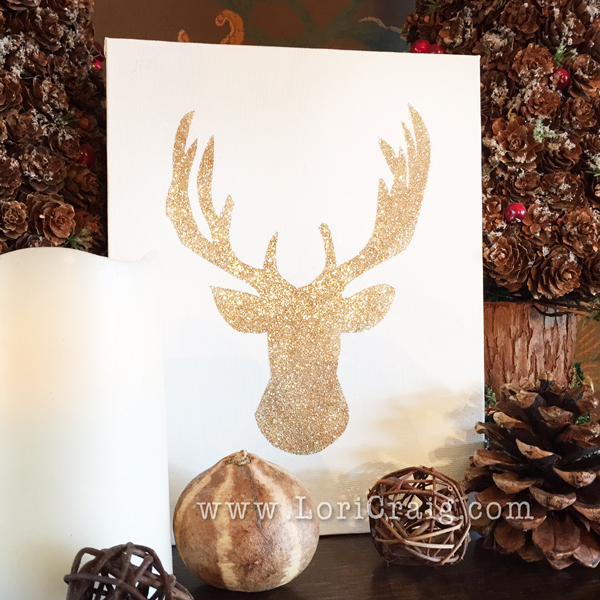
Twice a month I have the pleasure of participating in a mom’s program at my church, and once a month I plan a quick craft that the 20ish of us can share together. Today we made these 6″ x 8″ Christmas canvas decor pieces. It was fast, super simple and a real hit with my moms!
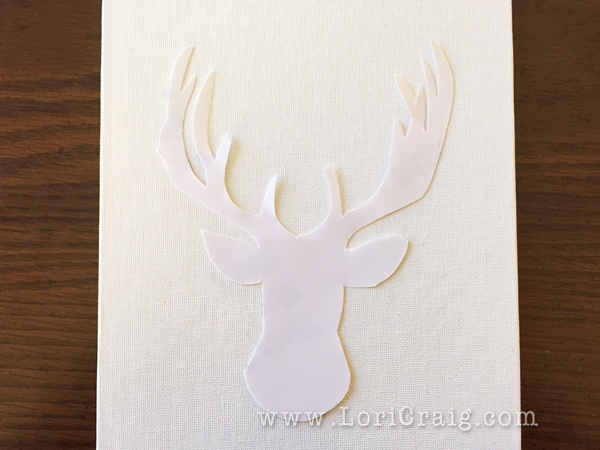
The thing that will take the longest is finding a silhouette image, and that’s fast and simple with a google search. Here I used a popular deer head design, and I say this part takes the longest because you will find a lot of fun ideas to try! I wish I had taken a photo of all of the finished canvas this morning because I had turkeys, a pilgrim head silhouette and a Christmas star to choose from. But, I didn’t. 🙁
There are a lot tutorials for this on the internet with different cutting and adhesive techniques for this canvas, but I wanted to focus on something my group could do together without a lot of expensive supplies. I also wanted the ladies to be able to take their craft home today without any glue drying time! Adhesive sheets from Imagination International worked GREAT!
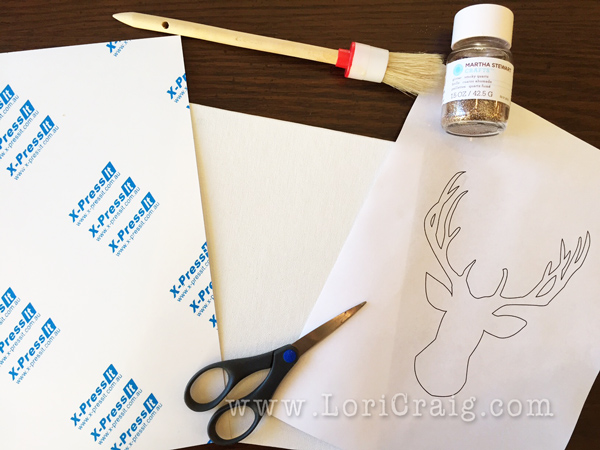
So, for my rendition the complete supply list:
- silhouette image printed on typing paper
- X-Press It High Tack Adhesive Sheets – These sheets come in 8.5″x11″ or 11″x17″. Here, I used one 8.5×11″ sheet for 3 projects.
- 6″ x 8″ flat canvas
- fine glitter – Martha Stewart Smoky Quartz used here
- scissor
- ink pen
- copy paper
- small dry brush – optional
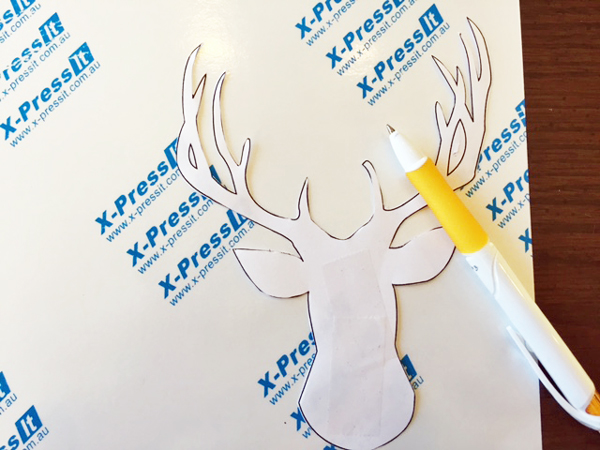
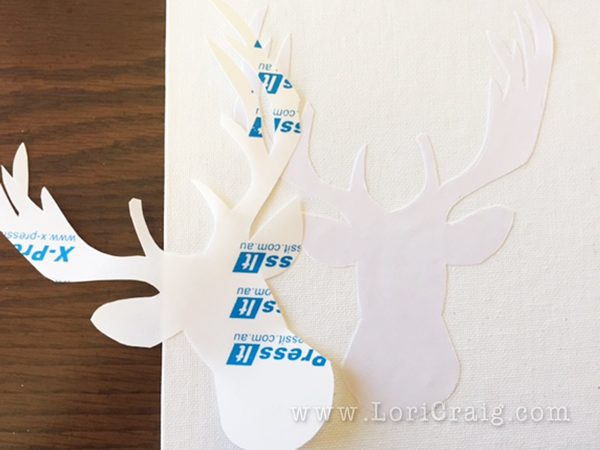
Unfortunately for this project, my laser printer heat sets my ink, so I was not able to print directly on my adhesive sheets. The upside is that I wanted each mom to choose her own design, and having the images printed first on copy paper was a much more economical option. Cut out your desired image from the copy paper and trace onto the back of the adhesive sheet. The slick surface of the sheets won’t take ballpoint, felt tip or alcohol (Copic or Sharpie) very well, so we just used a ballpoint and applied pressure to trace a faint impression of our image. Worked just fine.
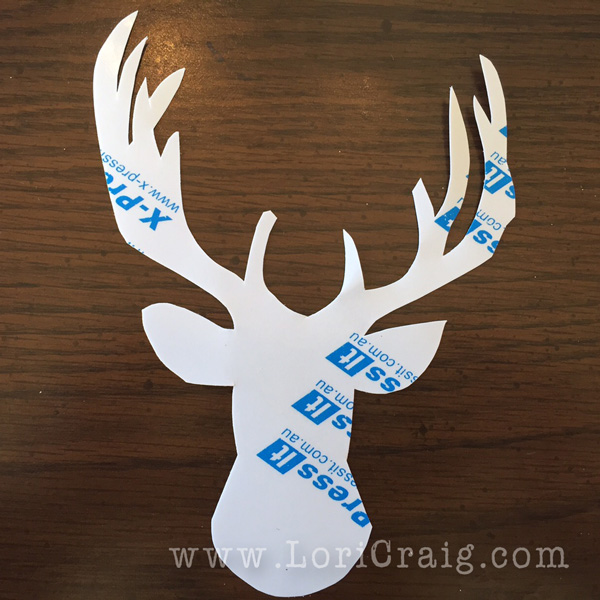
Trim the silhouette image from the adhesive sheet. Yes, you are trimming twice. You could save some time with an electronic cutter and appropriate files, but again, I needed easy and portability to do this away from my home.
Position the cut out adhesive on your canvas for proper placement.
Peel the labeled backing and apply the adhesive silhouette shape to the canvas. I found it easiest to work from one end and gently pull the backing away, sticking to the canvas as I go. This is pretty sticky, and unless your shape is really small, you won’t be successful with a complete peel and stick method.

Next, I put a piece of copy paper over the stuck image and rub gently over the design, making sure that I get the adhesive edges sealed really well to the surface of the canvas.
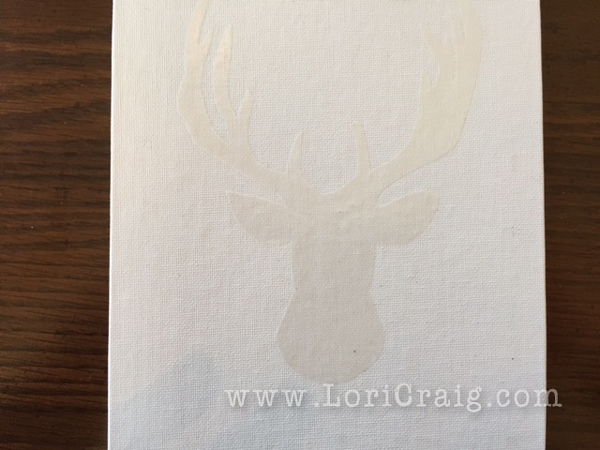
Then, pull the protective backing from the canvas, exposing the sticky surface of your cut shape.
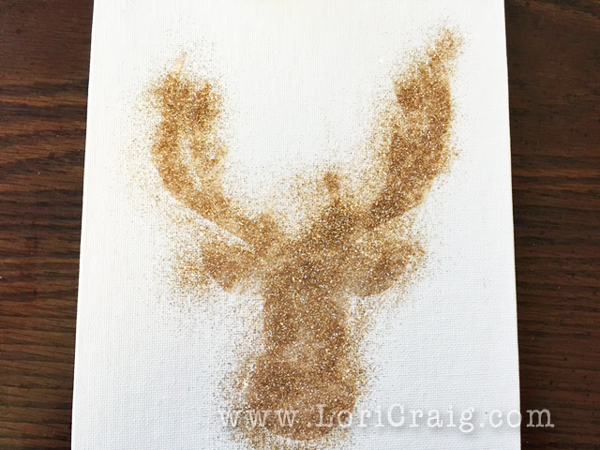
Sprinkle with glitter. If you are doing this with a group, I cannot over emphasize the instruction “a little goes a long way”… 🙂
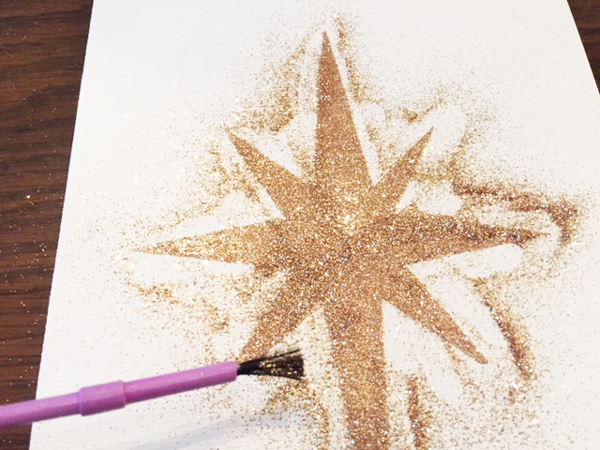
Tip: A small brush or sliver of paper to shift the glitter around will help you see where you might still need to cover exposed adhesive.
Use your plain piece of copy paper to burnish again, pressing the glitter into the adhesive design.
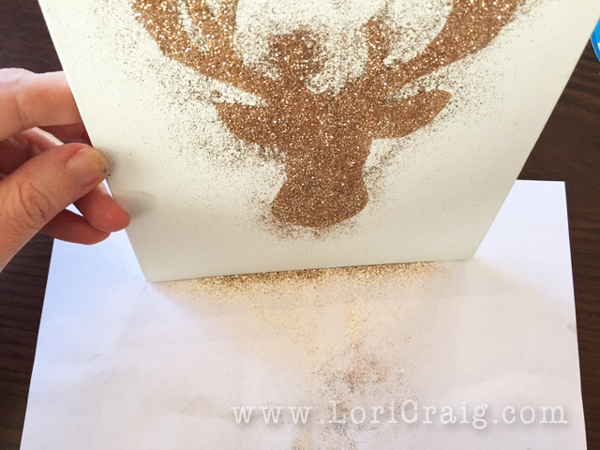
Tap the canvas on a piece of copy paper to catch excess glitter and clean off the non-sticky surface area. Right after this I sent everyone outside to give the backside of her canvas a good tap to shake off any glitter remnants. Tip: a little piece of contact paper or tape rolled around your hand backwards works great to pick up stray glitter pieces!
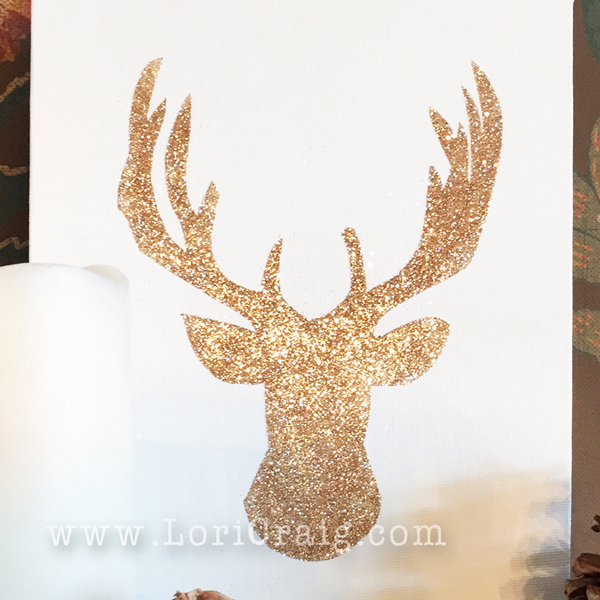
Cute glitter and canvas decor for your mantle, bookshelf or a gift.
Twenty ladies made these start to finish in about 20 minutes this morning! So quick and easy. If you make any of these canvas, let me know. I’d love to see a picture when you are finished!
Thanks for stopping by today!


2 responses to “No Dry Time Easy Christmas Canvas”