
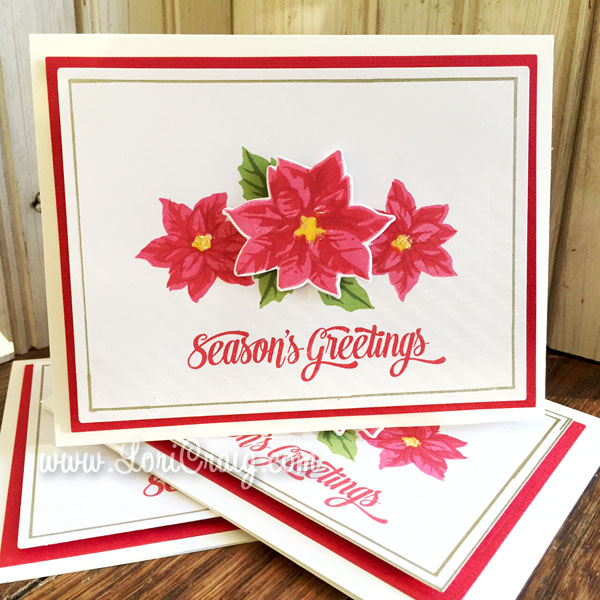
Much of the midwest was iced in over the Thanksgiving holiday, and I had quite a bit of time to bust out a beautiful new My Monthly Hero from Hero Arts of poinsettias and create some Christmas cards.
I send a photo card to the majority of my list because they are friends and family who live in other parts of the country, and I really enjoy watching far away family of friends grow through the years, so I feel like they enjoy that, as well. I do, however, try to get a large handful of handcrafted cards created for a few local and my papercrafting friends. Sometimes I send the same person both! 🙂

As much as I love the look of two-step stamping, I’ve shied away since unmounted or clear stamps became more popular because I had a tendency to mess it up, even with clear stamps and even with my long-haul friend, the Stamp-a-ma-jig. BUT, I think I’ve mentioned that I bought a MISTI (angels are singing everywhere in stamp land!) a while back, and I really can’t convey what a treat it is to do precision stamping again, especially mass production!
If you are unfamiliar, you can read all about the MISTI here in a Splitcoast Product Review or catch a bunch of YouTube video tutorials organized and catalogued here in their Splitcoast forum. The nuts and bolts is setting up your image, two-step process or sentiment once time and creating any number of beautiful stamped images with the same placement on each and every card.
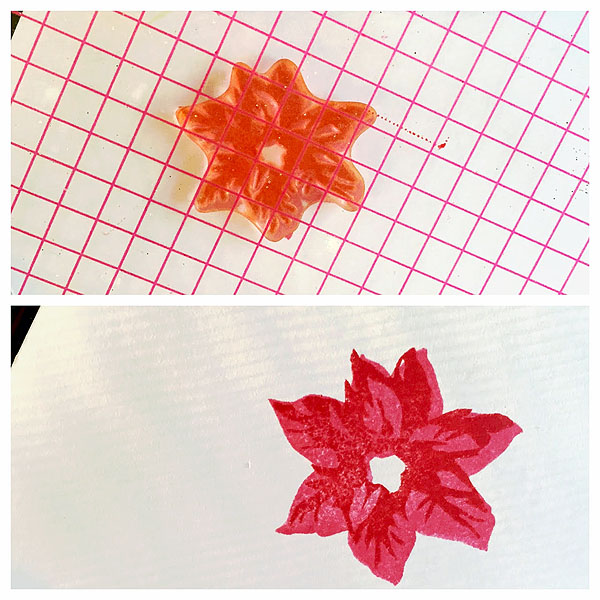
Above I locked my white cardstock into a set corner position in the MISTI, stamped the full floral blossom on white cardstock, and then laid the uninked 2nd step stamp on top of that bloom. Then, close the lid of the MISTI to pick up the stamp, open the lid and ink the 2nd step and close to impress over the first blossom… all while the white cardstock stays tucked into the corner of the tool for precise placement. These poinsettias from Hero Arts are actually three-step stamping… the easy way with the MISTI.
 They say the beauty is in the details, and here are two tips for a little extra easy flair!
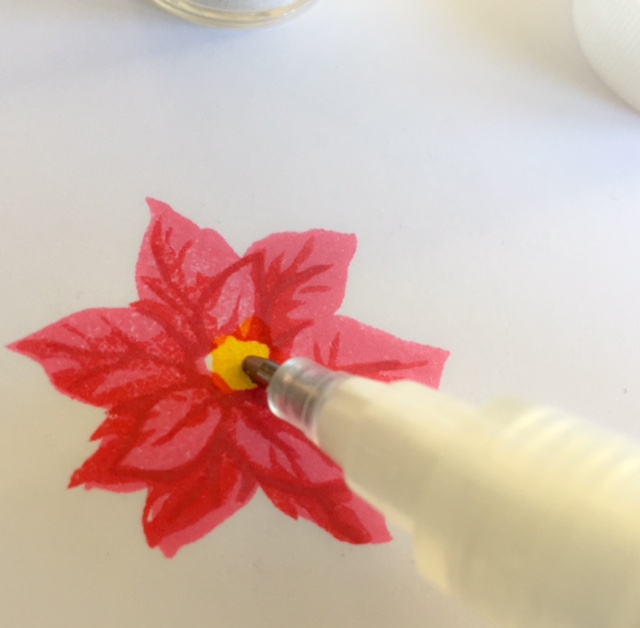
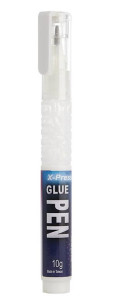
First, I added glitter to the center of my poinsettia blossoms with an easy application XPress It Fine Glue Pen from Imagination International. I like the ink-pen sized nib because it let me put glue right where I wanted in the center of each poinsettia. Here you see the size of the tip in comparison to the smallest poinsettia stamp. The glue pens are available in three different sized nibs (pen tip, marker and wide). They seem super affordable, especially considering the amount of glue that they each hold.
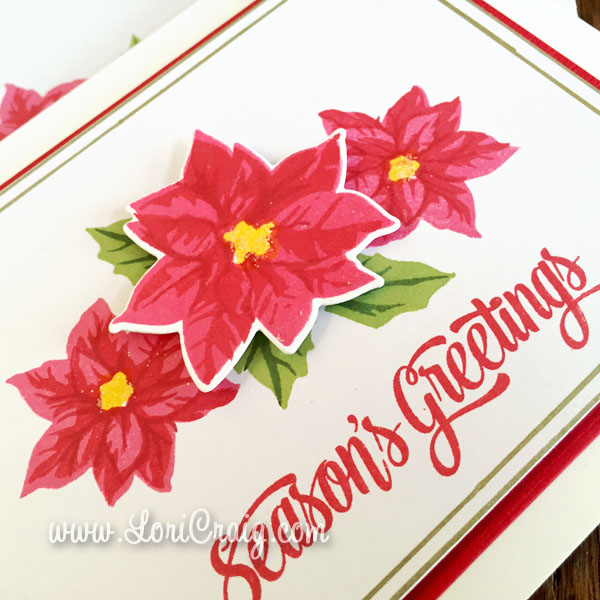
Second, the gold edging on the white panel was super simple. I used a the same rectangle die that I used to cut my main panel and the Kirarina Wink pen in Metallic Gold. I simply traced around the inside edge of the die and used a straight edge for the outer metallic ring. Clean and easy to use, no drips or mess. Just the right amount of polish.
I’ll be back with more Christmas card ideas tomorrow!
Have a beautiful Thursday!


One response to “Season’s Greetings & Precision Two-Step Stamping”