
Happy New Year’s Eve today! I hope you had a beautiful Christmas and holiday season with friends and family! I know that we sure did.
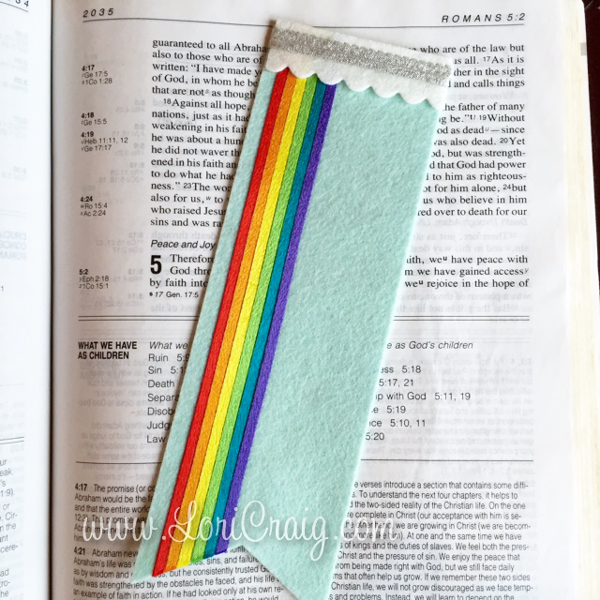
My oldest daughter had asked for a study Bible for Christmas, and earlier this week when we were studying together she mentioned needing a bookmark. So, this morning I pulled out some felt and Hot Ribbon to make one for her that would be flat in her book and hopefully hold up a little better than paper. Teenagers aren’t known for gentle ways. LOL

Hot Ribbon is a fun product from Imagination International for paper crafting, quilting, applique and crafting, in general. I used a Clover Mini Iron to set mine to the felt, but any household iron will work and there are other application methods described here.
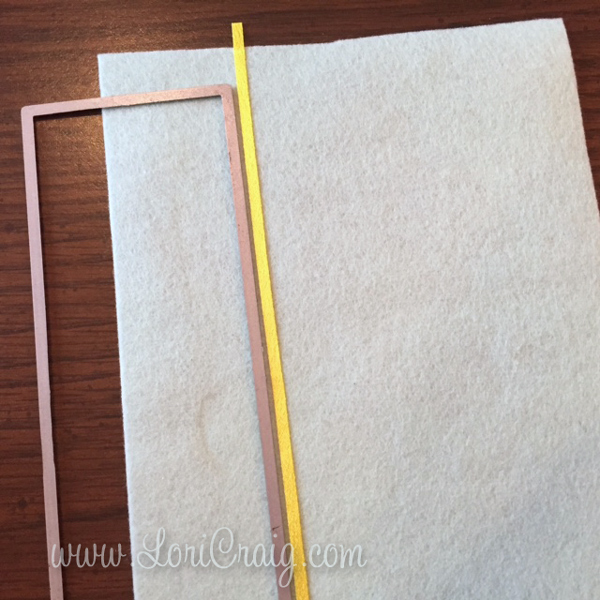
I used the straight edge of my die to apply my first piece of ribbon. I started with yellow because I knew it would be the center of my design when I was finished.

The little point of this iron makes it easy to apply heat exactly where you need it and see what you are doing at the same time.
Tip: It also works great for ironing crinkles out of regular ribbon!

Then I started laying colored ribbon next to each finished piece to create a rainbow.

Here’s my ribbon rainbow! The adhesive on the Hot Ribbon is super flexible. It doesn’t feel lumpy or crusty like dried glue can on fabric. 🙂
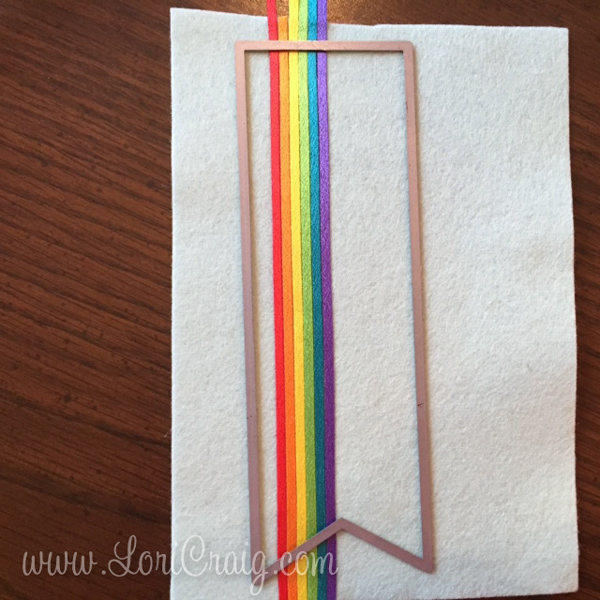
Then I set the die where I wanted the cut to be and ran it through my Big Shot. The die does cut the felt like butter and the ribbon. I did snip a few loose threads of the ribbon that weren’t completely cut with the die, but just use sharp scissor and it will look awesome and smooth!
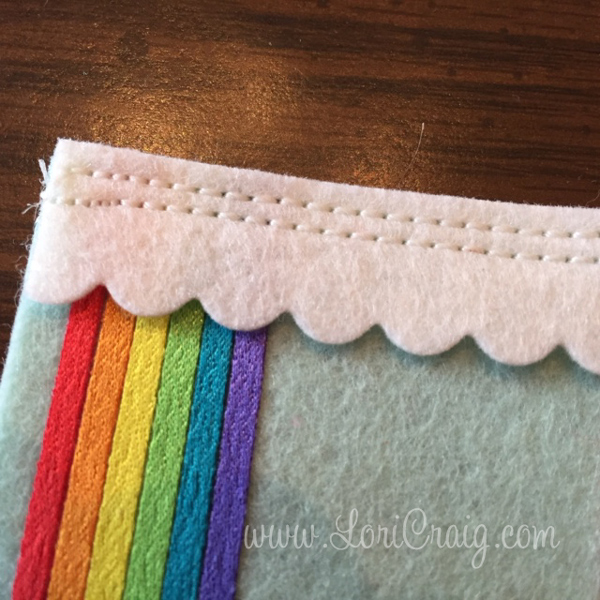
I somehow missed a photo, but my next step was cutting a little white felt scallop topper for the bookmark, and I did stitch that one with my sewing machine – more to hold the weight of the felt pieces together than anything else.
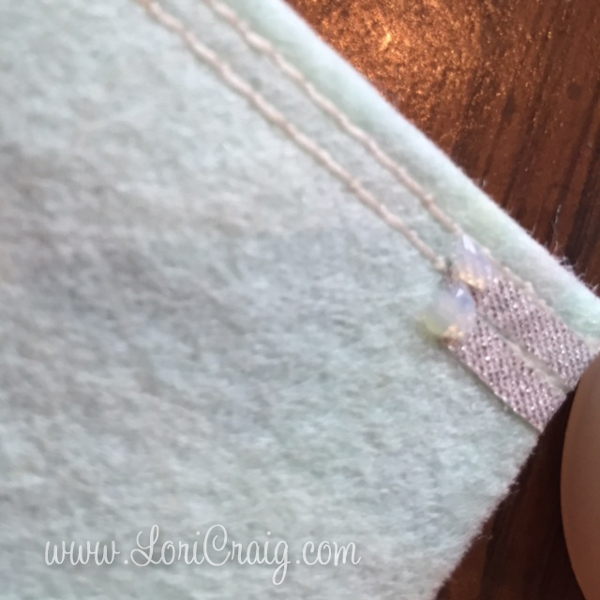 Next, I used two pieces of shimmery silver Hot Ribbon and applied those over my stitched lines with the iron, bringing the ends around to the back. I put a little dab of Crystal Effects on the raw edge just to seam them to the felt.
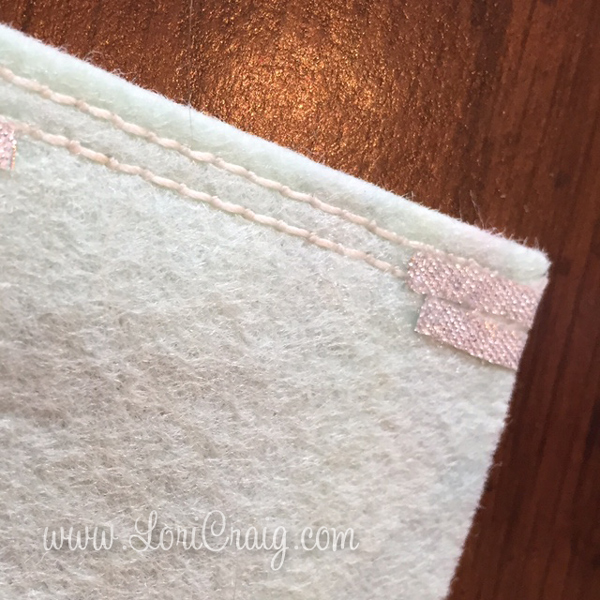
I then pressed the dab of Crystal Effects gently into the felt fiber. (This is the backside of my bookmark.)
I feel like the cut ends of the hot ribbon are fairly secure with adhesive on the backside, but I also barely grazed the cut ends of my rainbow ribbon with the slightest amount of Crystal Effects. You could also use a no-fray made specifically for ribbon, if you had that.
And, and here is my finished flat bookmark!
I hope you have a beautiful New Year’s Eve tonight – however you choose to celebrate – either with friends and family or in solitude. After the holiday bustle, there is great value in solitude.
I’m finishing up some loose ends today and prepping for CHA next week (already!). I do have a special post and giveaway tonight at midnight, so check back!


4 responses to “Felt and Ribbon Rainbow Bookmark”