Category Archives: Splitcoast Stuff

Falliday Feathers

FullSizeRender (19)Falliday Fest Lori Craig

I wanted to share two cards I’ve made for the Falliday Fest at Splitcoaststampers! We’ve partnered with some amazing sponsors for a fun event for October! Still plenty of month left to join us for challenges and inspiration, wonderful card-drive opportunities and prizes!

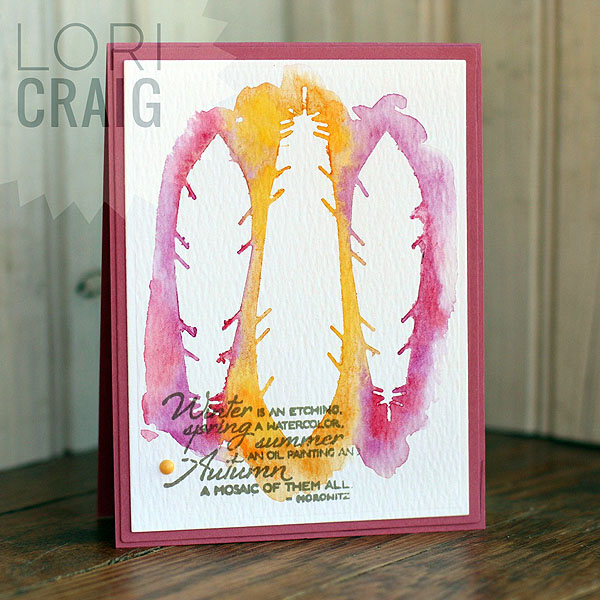
This was a card that I made for Dina Kowal’s Masquerade challenge. This was a new idea to me, and it was so fun…and easy. I’m definitely going to be trying this technique again! My sentiment came from the Autumn Splendor set from Verve, and the feathers are a die-cut from MFT.

FullSizeRender (5)Falliday Fest Lori Craig

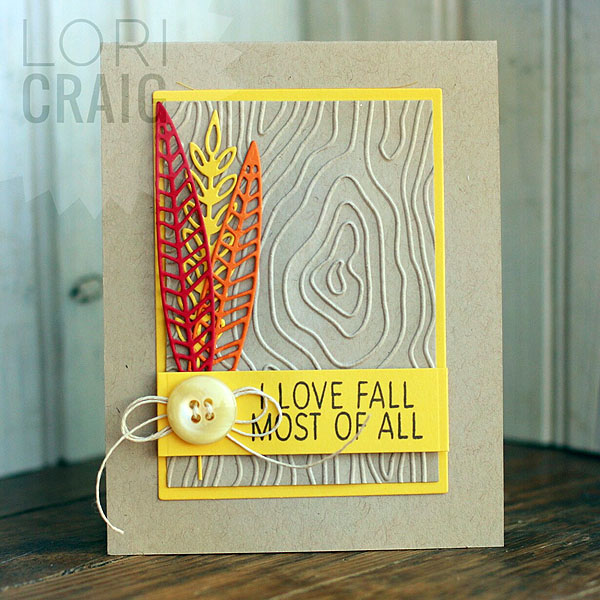
This fun card was for Lydia’s challenge, Start Spreading the News! I used the Give Thanks stamp and die set from Concord and 9th for this one. Love the clean look here. I tied to keep it clean and simple. That is something about Lydia’s style that I really admire: clean and classy!  The woodgrain is an embossing folder from Taylored Expressions.

I’m off to a marching band competition this weekend, but plenty of cards to share in the next few days! Hope you squeeze some crafty into your weekend! Thanks for stopping by!


Holiday Wishes

Falliday-VASunshine-LoriCraig

I am just home from an amazing crafty weekend where I had the opportunity to create a LOT of cards for the Falliday Fest at Splitcoast! I’ll be sharing over the next few days, but I couldn’t wait to share this one for Teresa Kline’s AWESOME challenge for today.

falliday fest graphic

I hope you find time to join us for Falliday Fest – we have some amazing sponsors and great gifts up for grabs! Still plenty of time to create and win this month!

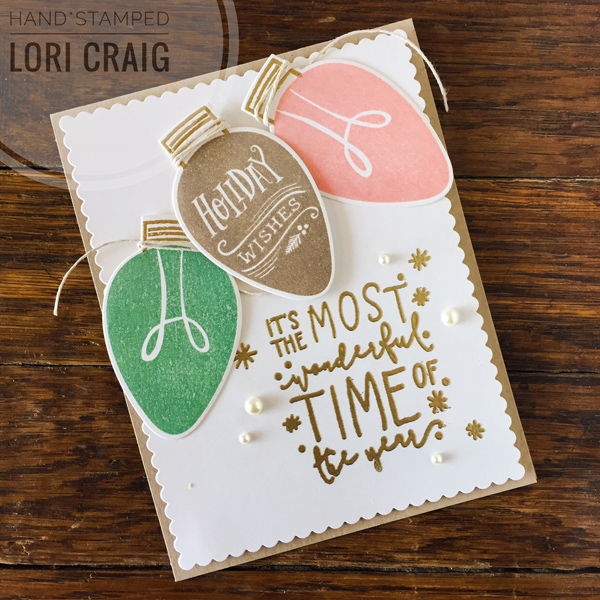
This was created with Merry & Bright bulbs from Reverse Confetti. I *LOVE* their style of these word/image stamps. (I see several in my near future!) I paired it with this awesome sentiment from Avery Elle called Comfort & Joy. The sentiment and the bulb metal are embossed with Princess Gold Embossing Powder from Ranger. The ink colors are Mint, Crumb Cake and Blushing Bride from Stampin’ Up. Paper is Curious Iridescent Shimmery White and Kraft. Scalloped Layer die is from Mama Elephant.

I hope you find time to

Happy Sunday!

a FABULOUSLY Fun Fall at Splitcoast

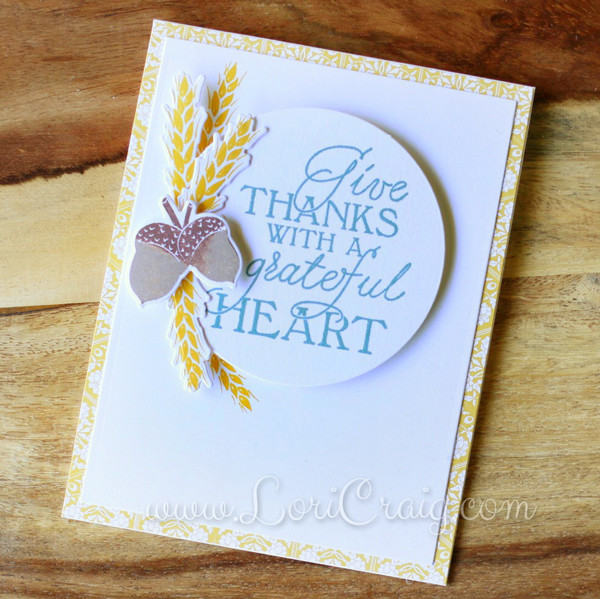
Greatful_Heart-FallidayFest-Lori-Craig

For the last six years October has been my favorite crafty month because our Splitcoaststampers community has come together for crafting fun in a large special event with challenges, prizes and crafty chit chat. This October, the name of the event and the focus have shifted, but I can’t be more excited. Welcome to Falliday Fest! 

falliday fest graphic

Falliday Fest includes great tutorials with some really cute projects, daily challenges designed to get you thinking about your holiday crafting – creating a plan and getting started, a special holiday gift guide and lots of fabulous prizes from some amazing sponsors! You really do not want to miss out!

grateful-heart-woodgrain

This is for my first challenge that I’m hosting today … May your joy…. 

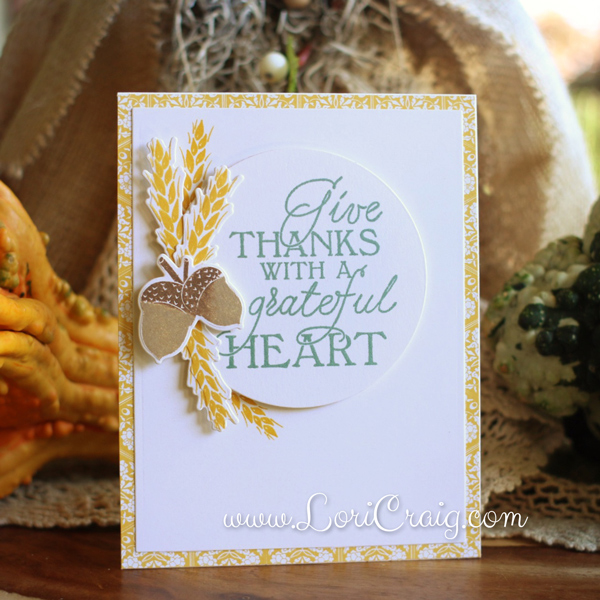
I recently went on a tear and ordered several different wheat themed stamp sets. It seems like fall is a great time that we think about wheat and harvest. The irony is that most wheat is harvested in the late spring/early June. Just a bit of trivia…

This set is called Grateful Heart from Papertrey Ink. I’ve used a clean layout and stamped on Shimmery White cardstock for a little punch. I’ve also kept it fairly flat so that it’s easy to mail.

So, be sure to check out my challenge – and all of the others. We have 10 days of crafty goodness ready to go. Your November self will sing your praises when you do!

Amazing Things Splitcoaststampers Tutorial

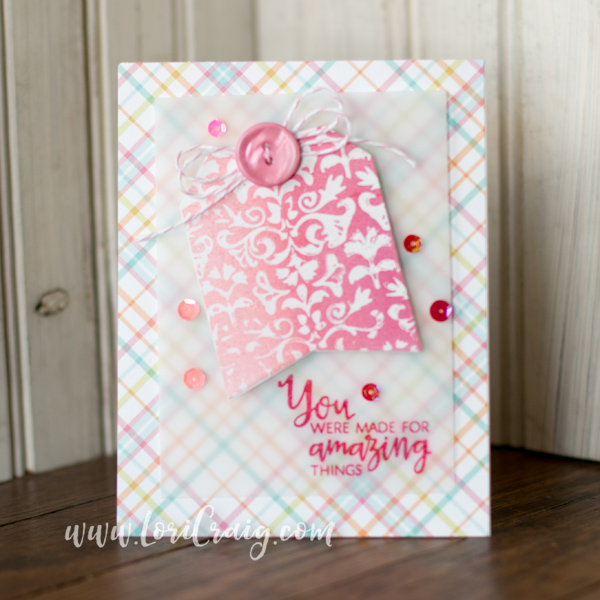
stamped masking full image lori craig

In the hustle and bustle of all of the new Verve, Dina Kowal asked me if I’d be interested in creating a masking fluid and Copic Airbrush Stamped Masking tutorial for Splitcoaststampers… How can I say no to her?

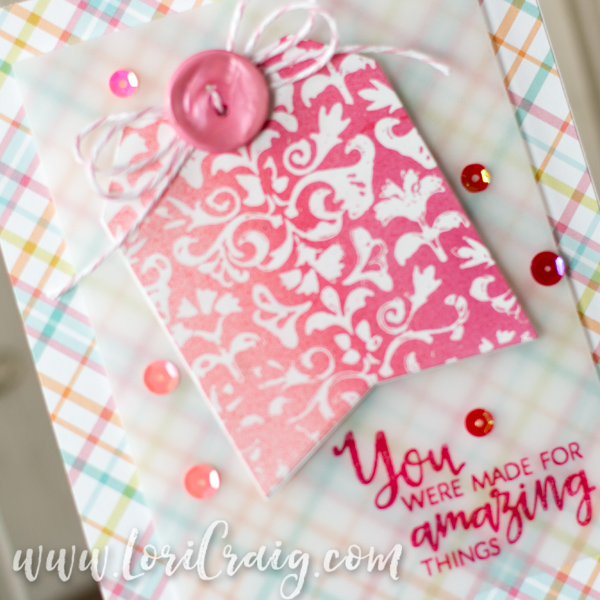
stamped masking close lori craig

Check out my tutorial for Stamped Masking and Copic Airbrush at Splitcoast to learn how I made this quick and easy variegated tag – I even shot a video! What! What? Try this and let me know what you think!

I paired the Flourished Tag with pretty plaid from Lawn Fawn and a beautiful sentiment from the new Verve release set called Beautiful Things. This set is full of beautiful sentiments, and I know I’ll be using it over and over and over. The sequins are from Verve’s Copper Blush and Lots of Love Sequin Mixes.

I hope you enjoy my tutorial! Thanks for stopping by today…

Printing Images for Copic Compatibility


power poppy full image lori craig

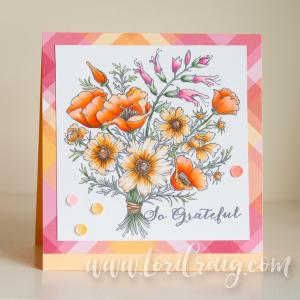
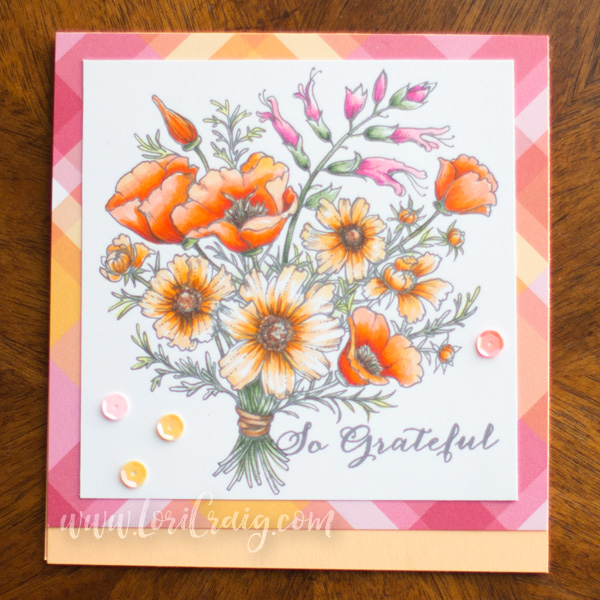
I’m often asked in Copic classes about printers for digital stamps (like this beautiful Countryside Bouquet from Power Poppy!)  that are compatible with alcohol inks. I’ve had more than my share of printers through the last 7-10 years, and more often than not, I’ve ditched them for cardstock issues, not ink compatibility. It is so hard to find a printer that will feed cardstock and thicker mediums without dog-earring the corners or jamming. For me, I’m happy to say those days are over!

power poppy close lori craig

For the last few months, I have been working with one of my co-workers at Splitcoaststampers on a collaborative project with Epson SureColor Printers, and I have enjoyed using with the SureColor P600. We published an overview of this printer at Splitcoast this morning, and you can find the full skinny here.


power poppy full image lori craig

To test digital ink for Copic compatibility, I follow a tried and true method that I learned from Marianne. I print a sample image on XPress It Blending Card and color right up TO the printed ink, but not over it with my marker nib. (When I’m not sure about compatibility, I don’t want to run my marker nib over an unknown substance!) I saturate the paper with Copic ink – a small, small spot will do. As the ink spreads over the printed ink, you’ll be able to watch the printed image either hold tight or it will start to run and meld. If it holds tight, you have a match!

power poppy on wood bg lori craig

My Countryside Bouquet was printed on XPress It Blending Card and colored with Copic Markers.

  • oranges – YR02, YR04, YR07, R24
  • yellows – Y32, Y35, Y38
  • pinks – RV21, RV23, RV25
  • greens – G21, G24, G28, G40, G43, BG93

My image was mounted on some pretty Lawn Fawn plaid patterned paper and accented with sequins. The sentiment is from the Fanciful Feathers set from Wplus9 Designs.

Thanks for stopping by today! I’ve got two other decor pieces to share with you from my printer project, so stop by tomorrow! Have a fabulous, colorful day!


Fresco Leaves

fresca full lori craig

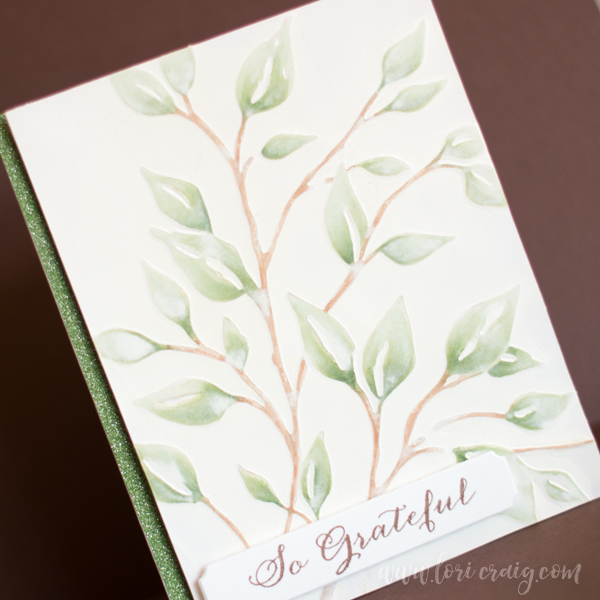
A few weeks ago, my friend Lydia offered a beautiful tutorial in the Weekly Inkling for a beautiful technique called Faux Fresco, and I was in love with the look! I really want to say Fresca – and grab a grapefruit soda from my fridge every time I say that word… I’m not so much of a technique girl, but I knew I had to try it!

fresca colored lori craig

The technique calls for waterproof coloring mediums and embossing folders, so of course, I would choose Copic Marker as my medium. I had this pretty embossing folder in my stash. I think something with a fairly substantial design works best. I loosely colored the raised leaves and branches of the embossed design.

I was really tempted to stop here because I loved the look of the coloring on the raised embossed card stock, but I kept going…

fresca leaves front lori craig

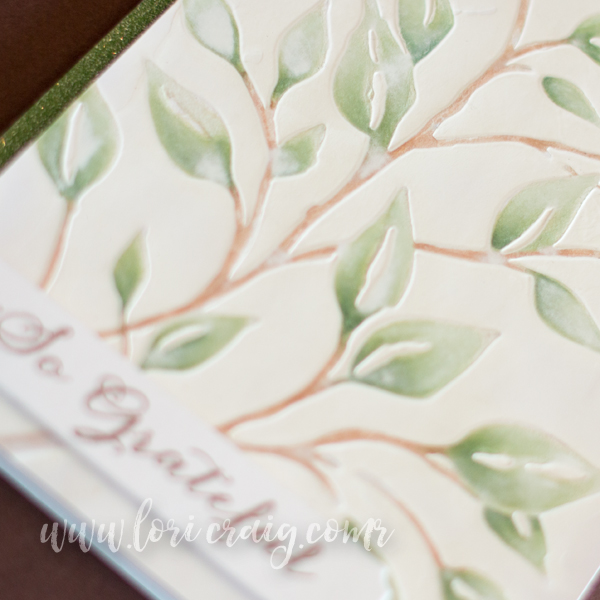
I followed the tutorial instructions with acrylic paint and a sanding block to create the finish. I actually did skip the last suggested step of clear embossing because I loved the matte finish revealed on my leaves after the sanding step.

fresca leaves close lori craig

The leaf panel is so soft… It has almost a vellum look to it. I added a layer of greet glitter Deco Tape to the edge of my panel.

fresca full lori craig

And a sentiment from Wplus9 to finish off my simple card front. Do you have any embossing folders that would work well for this technique? Would love to see!

I’m just home from a fun craft retreat, and I have lots to share this week. Hope your Monday is off to a beautiful start!

Happy Kansas Day & Combo Watercolor

Combo Watercolor Lori Craig 1

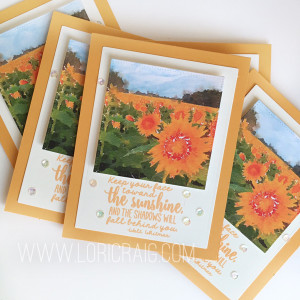
In honor of January 29th – officially, Kansas Day, I’m sharing a fun technique that incorporates both of my creative loves: paper crafting and photography!

Combo Watercolor Lori Craig photo

You might remember this post I shared in September about this beautiful 40-acres field of sunflowers near my parents home in northeast Kansas. The sunflower is our state flower! I knew immediately that I wanted to use the photo to create notecards or greeting cards. I wasn’t sure what approach I was going to take, but I wanted to get whatever I was going to do done for Christmas gifts… so I needed to start early, by December 22 at the latest! HAHAHA! December really was a crazy month for our family, so I got to the print stage of my project and it’s been on my desk waiting… patiently.
lori craig waterlogue

I wanted to use the photo but stay somewhat true to my papercrafty roots, so I ran the photo above through an app on my iPhone called Waterlogue. (It’s available for Android, too!) It is my favorite way to play with beautiful landscape or floral photos that I take, and I often use them for screen savers or as a little text-blessing that I pass along to a friend or family! The ap takes your own photo and transforms it to a beautiful watercolor file – there are several options to play with. You can save the watercolor file in .jpeg format,  just like you would a photo image. Here’s a fun site that shows a lot of different images created with the app, Made with Waterlogue.
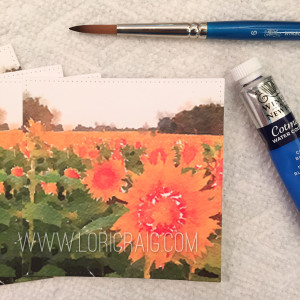
Combo Watercolor Lori Craig 2

I printed off a stack of 5-6 of the prints in a 3.5″ size on 110# hot press watercolor paper and trimmed them with a Pierced Square STAX Dienamic from MFT. I printed onto my heavy paper with an Epson P600 printer which is perfect for crafty printing because it prints on many different types of media – heavy, thin, canvas, watercolor, etc.

You might notice that in the Waterlogue conversion I lost the cloud and horizon detail. That’s not uncommon because it is very difficult to expose for the flowers in the foreground and the horizon line at the same time, and there doesn’t end  up being enough contrast for the app to fill it in. I love the flowers by themselves, but I wanted sky! Pretty blue sky!
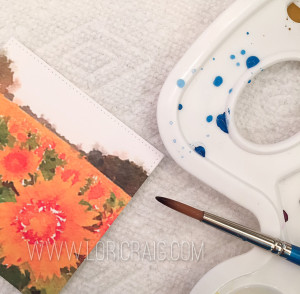
Combo Watercolor Lori Craig 3 So, this morning, armed with a little bit of knowledge from an amazingly awesome watercolor class I am taking this week at Online Card Classes called Watercolor for Card Makers – Intermediate, I busted out the blue tube watercolor and a small round brush and proceeded to add my sky back in. To get a muddled blue, I wet the sky area lightly with water and then dropped in a little bit of watery blue paint. The ink on this printer stays put for mixed media projects, and I had no printer ink runs or bleeds from the addition of the watercolor paint. (I haven’t had the printer very long, so I’ll test it for Copic and stamping ink compatibility soon!)
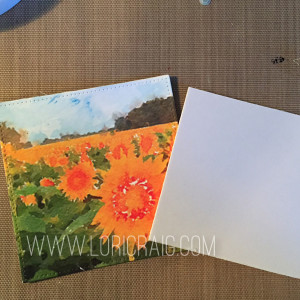
Combo Watercolor Lori Craig 4
Because these are going to be a gift, I wanted a nice smooth panel with my watercolor design, so I took a tip from Jennifer McGuire and cut squares of fun foam at 2.75″ to mount my watercolor squares to the card fronts. Helps keep the panel flat and smooth!
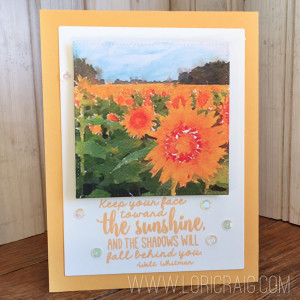
 

Combo Watercolor Lori Craig 6

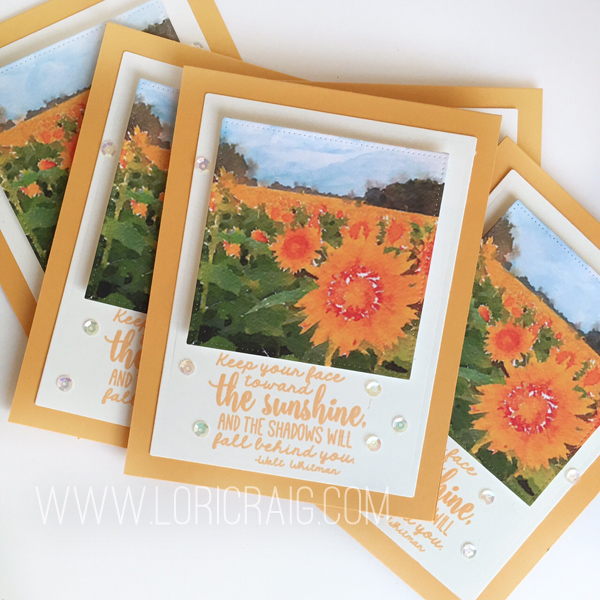
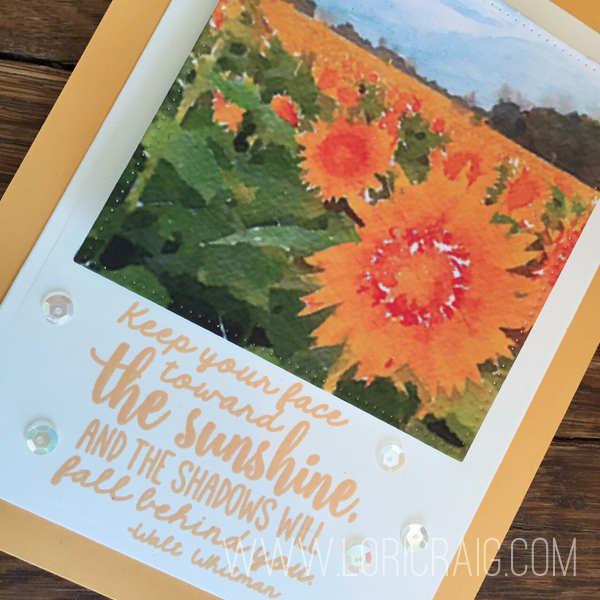
I added a sentiment from Simply Stamped Sunflowers from Taylored Expressions to a cream panel and accented with sequins, then I applied the cream and photo layers to a card base of Summer Sunrise cardstock from Papertrey Ink – fitting since I took this photo just after sunrise! – for a fairly quick project.
 

Combo Watercolor Lori Craig 1I like the term Combo Watercolor for this process – a combination of digital and traditional painting, and I can’t wait to comb through my photos and makesome more!

Tip: Print a small image test from your printer and on the paper media that you want to use. Test for a reaction to watercolor or other mediums before you go to elaborate creative measures. Just as you would test a digital stamped image!

If you try it, I would love to see your work. Send me a link to your project on your blog or at Splitcoast.
Combo Watercolor Lori Craig 5

So thanks for visiting with me today, and Happy Birthday to my beautiful homeland! Happy Kansas Day! 

Deer Tag and Blaze Orange


HYCCT1531B-LoriCraig

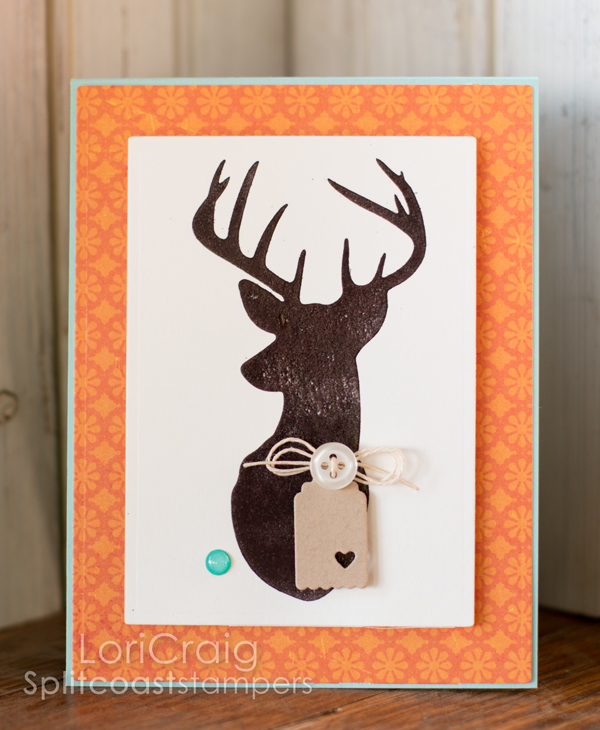
I was out of town over the weekend teaching my last set of Copic classes until after the New Year, but I wanted to share this card that I created this card for Dina’s final challenge of Hope You Can Cling To! It’s a layout that I’ve done before, but I had fun adding the hunter’s orange to the background. It’s deer season here, and everyone has his or her tags.  We are ready! (The deer stamp is Stampin’ Up! and the tag is Designer Mini Tags from Taylored Expressions.)

HYCCT1531A-LoriCraig

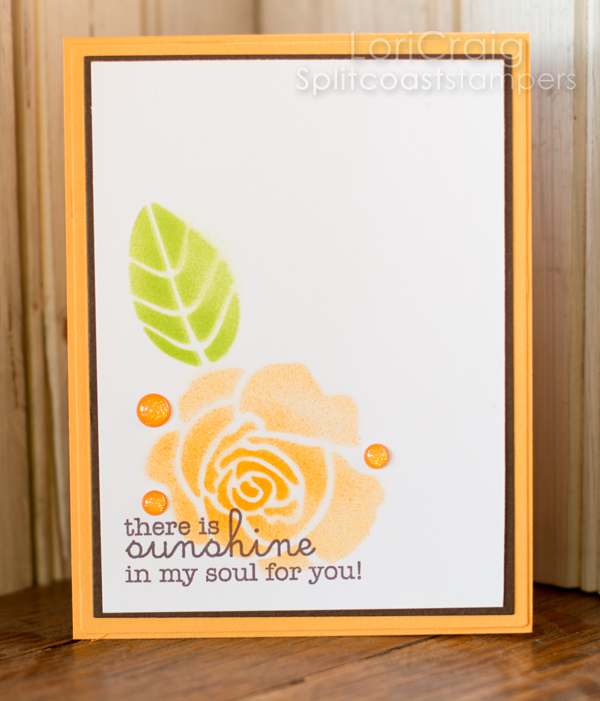
And my final card to share with you for Hope You Can Cling To was for my own challenge, and I wanted folks to incorporate roses. I used Rose Builder stencil from My Favorite Things and the Copic Airbrush System.

The airbrush is easy to use, and I love it with stencils. For this stencil, I use post-it notes to mask off the sections of the stencil that I don’t want to you and to protect around the edges of the stencil for overspray. These roses are large enough that you can concentrate ink in the center of your flower for depth! Easy!

Thanks for stopping by!

Peaceful Scene in a Shaker

Shaker Close final Lori Craig

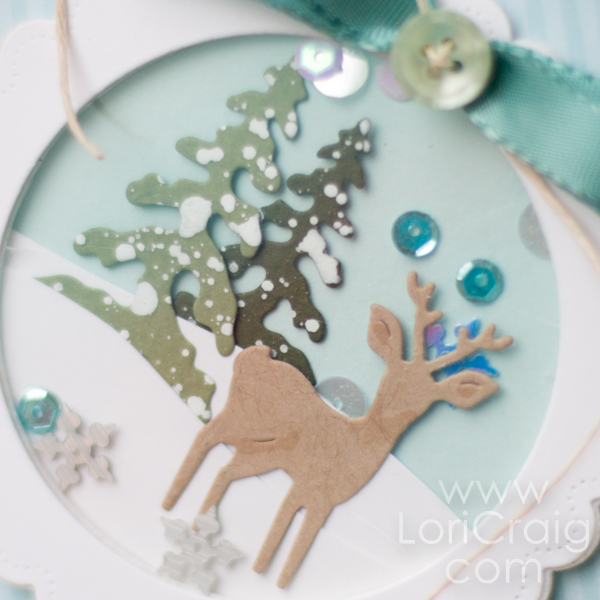
I tried something new this week and created a Die Cut Shaker card for the Splitcoaststampers tutorial. We love to accompany those tutorials with a video, so it was I who braved the camera for this one. It was actually super easy to create, and I’m planning to make several more for Christmas package tags.

The snow splatters on the trees were created with Dr. Martins Hydrus Titanium White Watercolor – I love how easy this is to use. The sequin mix is so fun. It was new last week from Verve, and it’s called Frosted Snowfall – it comes with those little flakes! So cute!

Shaker Lori Craig

This is my finished sample for the video. (I hope my hair looked ok!)

The dies that I used are Pocket Page Winter Dies and Polar Bear Dies from Top Dog Dies. So fun… I think I covered all of the how-to in the video, so I’ll keep the babble short today!

Thanks for stopping by!

Be A Good One

HYCCT1517-LoriCraig

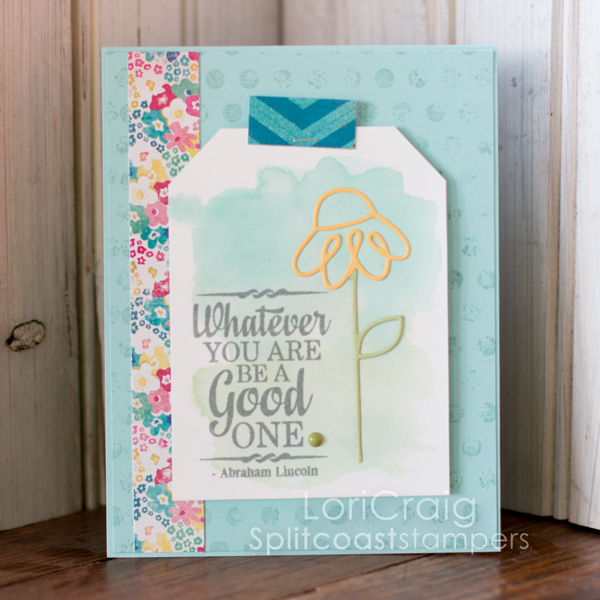
I knew I wanted to make a sample for Lori’s Hope You Can Cling To challenge! I’ve had the pleasure of meeting her at several events over the years, and she’s so sweet! Love that she helps us so much at Splitcoast, too!

I used watercolor paper and Stampin’ Up! ink refills to wash the background of the tag, and then paired it with a sentiment from the Sparkly Dreams set by Verve and a fun Dainty Flower from Paper Smooches.

I’ll be sharing the cards I’ve made so far for Hope You Can Cling To with the cancer center this week. (That’s the power of the entire project!) I know the patients who end up using these blank cards to send thanks, appreciation or special greetings to their own loved ones are grateful for these small gifts. These cards allow them to be a blessing to someone special in their own life…and I know for me, helping someone else always lifts my own spirit when I’m facing a dark time.

HYCCT1513-LoriCraig

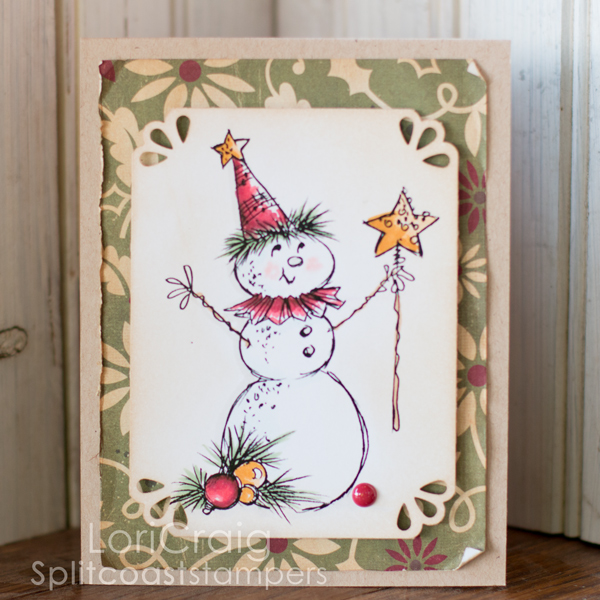
This was a quick card that I made for Misti’s challenge, Show Me Your Scars. The snowman is from Stampendous. I got it a few years ago… Such a cute little guy! He is colored with Copic Markers.

Still plenty of month left to participate with us in Hope You Can Cling To – thousands of dollars in prizes up for grabs from our FABULOUS sponsors. Come stamp something and share HOPE!

HYCCT-Participation-Blinkie-2015